What you will need:
1) Mesh/Netting
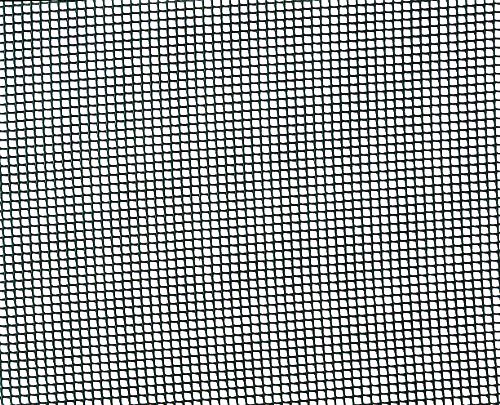
The netting/mesh should be about 2mm in size, and should preferably match the color of your windows frame well. I used black-colored mesh. The material of the netting should be soft enough for you to manipulate and work easily, something along the material you would use to make, say a small fishing net or butterfly catcher’s netting, just a little more durable in terms of material. There are some nettings that are pretty tough and sturdy (fibrous), but these warp more easily, stays in that warped state and does not go well with the overall solution. Stay away from these tougher ones.

2) Good Velcro Tape/Strips. You can get all kinds of velcro strips. Make sure they have a sturdy backing. There are two types of velcros. The “hook and moss” type which tends to be difficult to tear apart after getting “hooked”, and the ‘mushroom head” type from 3M, which I prefer, as they attach firmly and detach much more cleanly and easily.
3) Stapler and of course, the staples “bullets” you need to staple things together.

4) Measuring tape, rulers whatever helps you measure the length
You need this to measure out the window size, so that your final solution can be used to cover the entire area of the window.
The process:
1) Measure out the dimension of the window. This should be the dimension of the opening of the window, which you are trying to cover.
2) Measure the width of the velcro strips. Mine was around 2 cm wide, and 2-3 inches long. You need to factor in the width of the velcros, as they will be used to mount the netting on the window.
3) Prepare the the netting. You should prepare the netting according to the following dimensions:
Total Width = Width of Opening + 4 x (Width of Velcros Strips)
Total Height = Height of Opening + 4 x (Width of Velcros Strips)
This is because we are going to fold in the netting before attaching the velcros onto the nettings, and we are going to do that on both sides of the netting (left and right side).
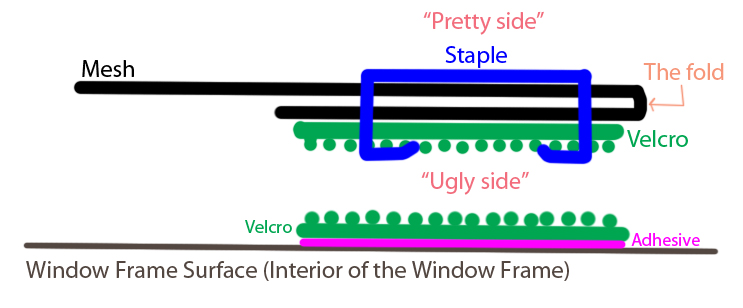
4) Fold and Staple the velcros.
Take one side of the netting, fold in the edge the width of the velcro. i.e. if you have a 2 cm velcro width, fold in 2cm.
Then, attach the velco with the back of the hooks on the folded side. Staple the velcro to the netting. The stapling should be done such that the staple bullet’s 2 legs protrude at the hooks side of the velcro. This is critical, as if the folding is not done correctly, and the stapling is done on the wrong side, you will have an ugly looking mesh, and most importantly, the fold (like a U shape) is designed “open” when attached to prevent gecko from coming in.
Here’s a quick diagram using MS Paint, to show you the details of the mechanics of it.

You can use three or four staples per strip of velcro, depending on your preference. Heck, you can even run the whole length of velcro if you want 🙂
You should have something like this:
 The “front” which is the “prettier” side |
 The “behind”, which is going to stick on the window frame. |
You may wish to fold the corners nicely, and then staple 2 at the corners to hold the mesh together. It helps to have velcros at the corner, just like in the photos.
Do this and repeat for other fasteners on the netting.
5) Position the other part of the velcro on the window frame. I am not a fan of glue/unremovable type of adhesives on my walls or frames because they tend to leave a residue, so I used 3M’s pull off clean type of fasteners, which they call “Command Strips” for this purpose. These works wonderfully for this purpose. Make sure you align all the fastened strips on the netting with the ones you are fastening on the window frame.
6) Attach the netting to all the window frame’s fasteners.
7) You are done! Enjoy your new found protection from bugs/geckos/flying insects/leaves/cigarette butts etc. 🙂
 Netting attached onto the window frame |
 The entire window frame with netting on. |


